
Adding Name Embroidery Guide
Embroidery Video Instruction
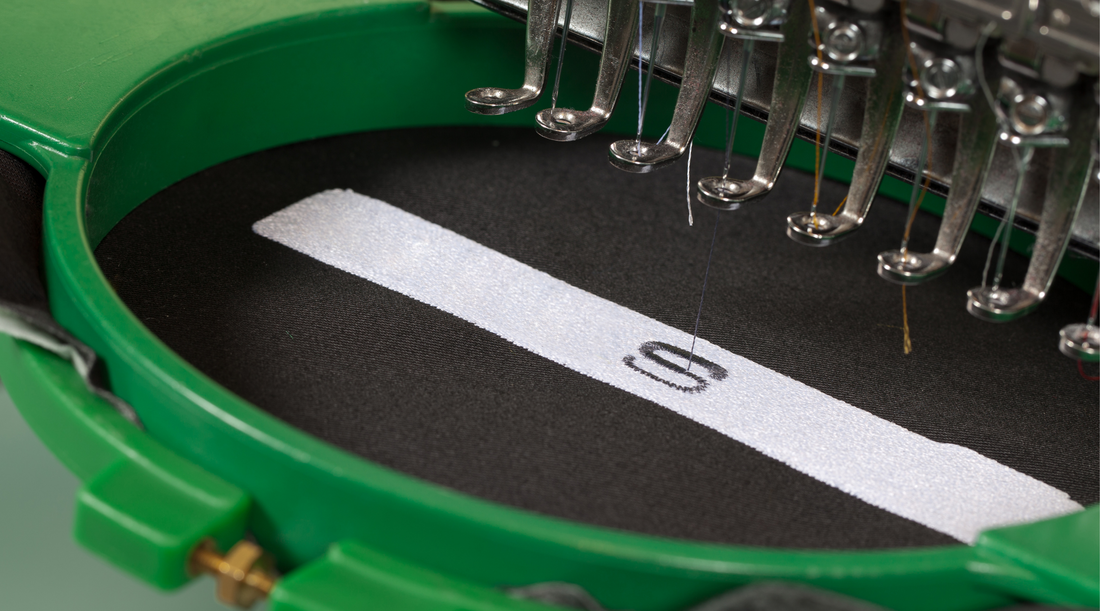
Embroidery Step by Step Instruction
1. Choose your item for embroidery
Select the items you would like to purchase and add to cart. After clicking on the item you wish to purchase, you will be able to select the type of embroidery you desire for that item and it will be located below the size selections.
There are 4 types of embroidery options to choose from:
- Country Flag Embroidery
- Name Embroidery
- State of Malaysia Flag
- Title Embroidery
2. Key in your embroidery information
Once you have selected one of the embroidery options, key in all of the embroidery information required. If you have selected “Name Embroidery” or “Tittle Embroidery”, you can select the type of font and colour you want for your embroidery.
The fonts options are:

The colour options are:

3. Go to Cart
Click the cart icon located at the top left corner of the web page to check if the details entered are correct.

4. Spelling Mistake
You can edit in your cart if you have a misspelled word or change in mind. If you discovered that the word you typed for embroidery was misspelled, click “edit item” to edit and change the spelling in your cart.

5. Check out when you are ready!
After checking the spelling of the embroidery, click “check out” to proceed for payment.